Saturday, July 27, 2013

"thankful" craft blocks! {a tutorial}

So I feel pretty confident making decorative tiles from Heritage Makers individual scrapbook pages.  In fact, I think it's pretty great.  I'm sure you've noticed that from my recent posts.

But now I've branched out!  So proud of myself.  ;)

Today I'm going to show you something I just learned to do:  craft blocks.  

These are very simple, can be made to fit your own style or match your own home decor, and are inexpensive.  Like all Heritage Makers products, they can be very personalized.  You just use a Heritage Makers individual scrapbook page (or 11x14 print for larger projects), some wood blocks, and some adhesive.  So let's go!  

Here's what I'm going to make:


Yeah, sorry for the flash reflection.  This was the fourth picture I took, and it was deemed Good Enough.

This measures about 18 inches wide when it's finished.  This project cost me about $7.

Here's what you need:
  • Heritage Makers template 98402, "Count Your Blessings Blocks."  You can see it in the Heritage Makers template gallery--just type 98402 into the search field.
  • about 4 feet of a 2x4 piece of wood (found at home improvement stores; 2x4s actually measure 1.5"x3.5".  Tell me I'm not the only person who thinks that's weird.)
  • a saw (power saw recommended), or a nice person at said home improvement store who will cut the board into pieces for you--just be sure you take the measurements with you.
  • black paint (This project takes more than half of a 2-oz. bottle of craft paint.  You could try spray paint if you prefer.  You could also try a different color if you prefer)
  • adhesive of some kind, such as double-sided tape, Xyron, Uhu stick, spray adhesive, or Mod Podge.  
STEP 1:  create the beautiful part
You can always create things from scratch in Heritage Makers, but for this project I wanted to use a template since I have never done blocks before.  I used template 98402, "Count Your Blessings Blocks."  This one was nice because it had directions on it as well.  This was made on an 11x14 print.  

Once the template is in your account, you can open it for editing.  You can change those background papers or the font if you'd prefer a different style.  Or the font color.  Again, ways to do that are covered in that tutorial, or you can just ask me!  


I actually changed the sizes of the block pieces, so if you follow the template exactly, it will look a bit different than I showed pictured at the top, but not too much.

Once you're happy with your design, you'll need to preview it to see exactly how it will print, then you submit it for publishing.  

You'll get your project in the mail in about 7-10 days.  The waiting is the hardest part.  (Thanks, Tom Petty.  ..But it's true.)

STEP 2:  cut your wooden blocks

Remember that 2x4s actually measure 1.5" x 3.5".  This is important to know so that you make sure your Heritage Makers design is the right size.  You can go ahead and cut your blocks while you wait for your Heritage Makers order to come in the mail, or you can wait just to double-check sizes.  

This particular project, because it's a template, actually comes with some instructions and size information right on it.  If you are doing something from scratch, you'll have to actually measure out the blocks sizes yourself.  You don't want the blocks exactly the same size as the Heritage Makers pieces--it's easiest to have a little bit of a wood border around your HM pages.  It protects it a bit.  I'd recommend that you cut the blocks with a power saw, to save time and to get a cleaner cut.

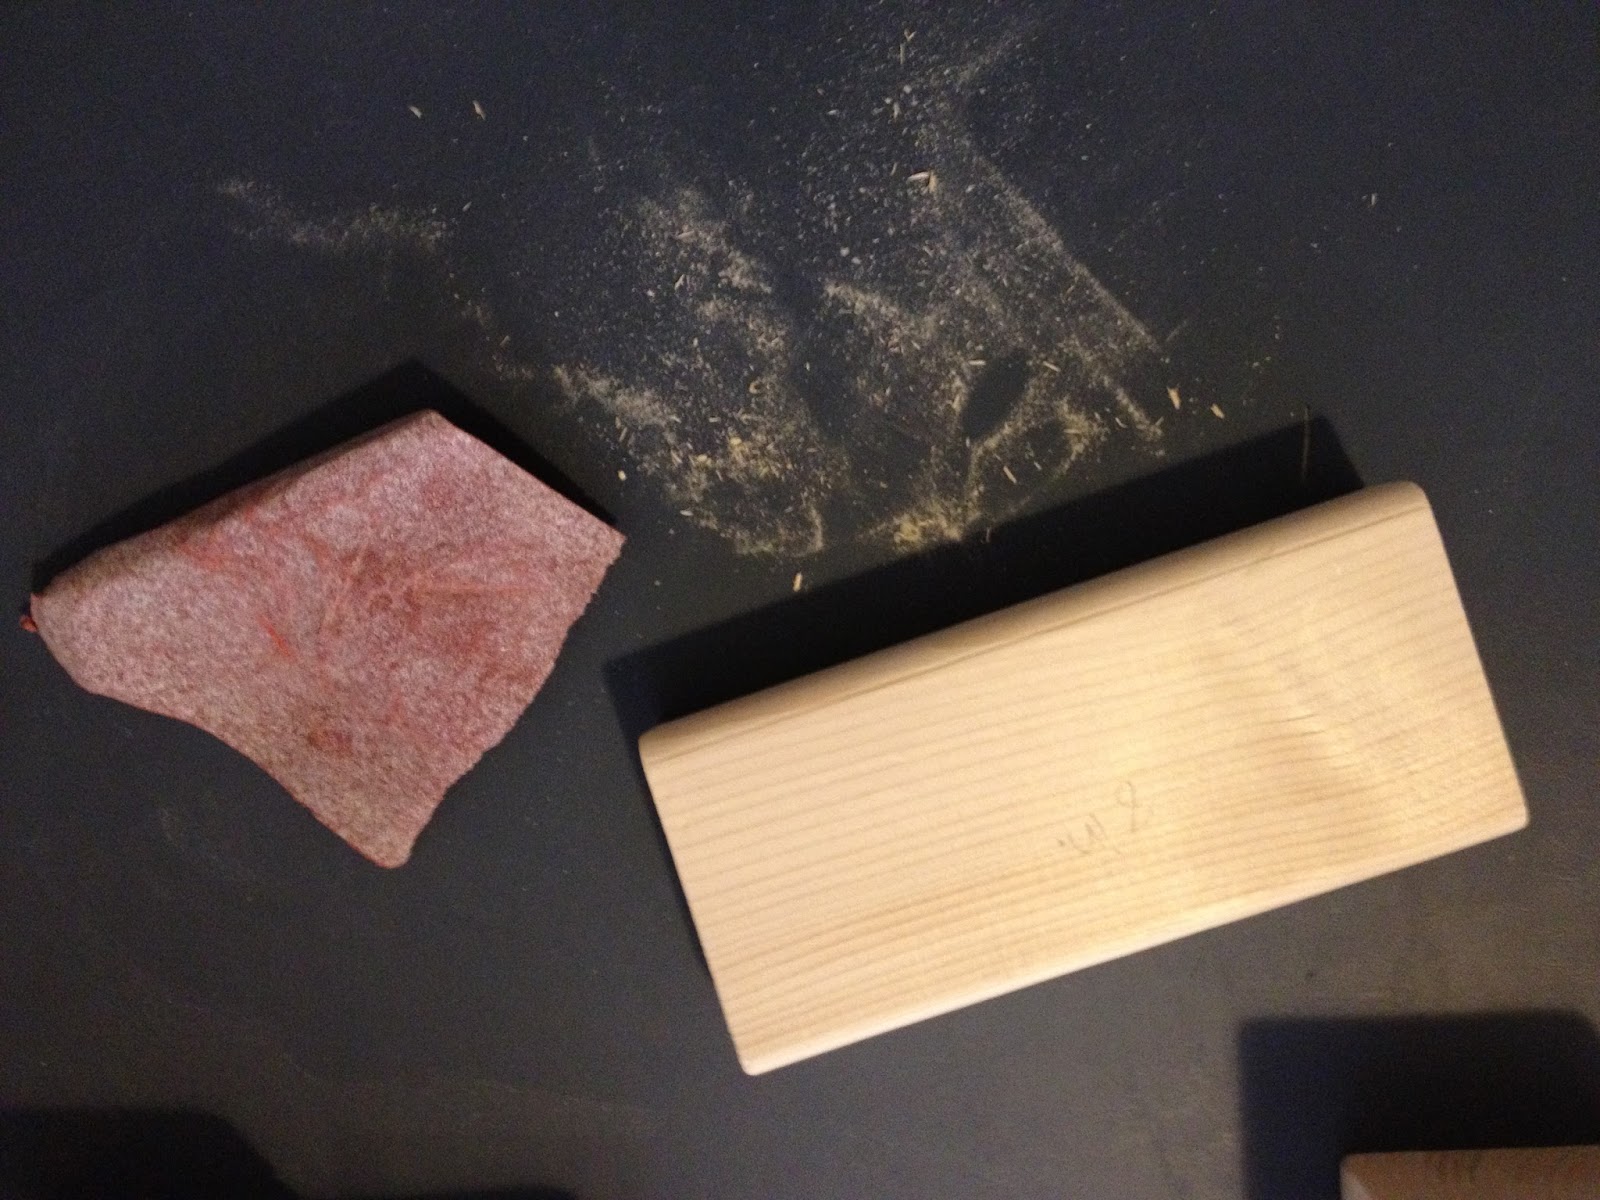
STEP 3:  prepare the wooden blocks

First, sand the rough edges.


Then paint them.  I'd suggest painting all sides of the blocks, but you don't have to.  Let the paint dry completely.  

STEP 4:  cut out the cuteness

When your blocks' decor arrives in the mail from Heritage Makers (and you're finished with your happy dance), cut out the pieces.  Use a paper cutter or scissors--whatever you'll be happy with.

STEP 5:  adhere the cuteness to the blocks
There are many ways to adhere pages when you craft.  I've heard suggestions of UHU stick, spray adhesive, Xyron machine, Mod-Podge, and double-sided tape.  

For this particular project, I'm going to stick with tried-and-true double-sided tape.  On my next project, I'll venture out.  I know with Mod-Podge you can use it as an adhesive on the back of the page, and then use it on the front as a sealer.  Some people don't like the look you get with the Mod-Podge put on the front, but others do.  See what you think.

Ta-Da!!

It would look darling in your house, but it would also make a cute AND inexpensive gift!

2023 UPDATE:  Heritage Makers became YPhoto under Youngevity (which purchased Heritage Makers in 2013).  YPhoto uses only templates, so the creativity showcased here is no longer available there. Best-in-the-industry quality and permanent cloud photo storage with guaranteed privacy are required for anything recommended here by Photo & Story Treasures, so we highly recommend Forever.  

Using Forever's Artisan program for digital scrapbooking, you can make items similar to those shown here.  This video tutorial below shows you how to craft with high-quality scrapbook pages, and this one shows you how to use Artisan to create something unique and then print at home (for instances in which you need thinner paper, sticker paper, etc.)  You can see just a few examples of crafting I've done using Artisan here.


Friday, July 12, 2013

decorative tiles! {a tutorial}

I'm such a big believer in capturing memories as they're made (i.e. creating photo albums, digital scrapbooks, tribute books, life stories, etc.) that I have yet to fully appreciate Heritage Makers used a different way:  CRAFTING!  

But I'm starting to...

Crafting is very popular, and if you go to the Template Gallery at Heritage Makers, you can see examples of how people use Heritage Makers for crafting--just type in "blocks," "banner," "tiles," "clock," or "advent."  (I'm sure there are others I haven't thought of, too!)

I did my first craft project using Heritage Makers about a year ago.  I was going to be at a Heritage Makers booth at a very large event with some other Heritage Makers consultants.  We decided to make some giveaway prizes for the new clients we'd be meeting.  And so, I was first introduced to Decorative Tiles, the Heritage Makers way!

You may have seen decorative tiles in homes before.  Here's one I made with Heritage Makers that I have now sitting in my kitchen:


All you really need to make a decorative tile is:
  • a tile (your desired size)
  • a print from Heritage Makers (use an individual scrapbook page)
  • a stand of some kind to display your finished product (available at craft stores or framing stores)
You can always create things from scratch in Heritage Makers, but I most often use templates for tiles.  Either way, you can personalize anything at all.  

In the template gallery, you'll see templates like this:


and like this


They are both made on 12x12s, but you would then cut apart the one with 4 on it.  The bigger 12x12 can be put on a 13x13 tile.  For the smaller ones, I have seen 6x6 squares put on 6.5x6.5" tiles (ONLY available at Lowe's, for some reason), and 5.5x5.5 squares put on 6x6 tiles.  I know some people make smaller ones, 4 inches, but I'm not sure if the paper is 4 inches or the tiles are.  At any rate, you want the paper a little smaller than the tile, no matter what you're using.  It gives you a little border, as you can see in my first photo above, and then you don't have to mess with having the edges meet perfectly.

For the 6x6 tiles, each one comes out to less than $2 (tiles included), so they make really lovely little gifts.  The 12x12 individual scrapbook pages can also be framed instead of placed on a tile if you prefer.  Also a very nice gift or home decor item for yourself.

So let's get started!

STEP 1:  THE TILES
Go buy your tiles at a home improvement store.  I suggest doing this first so that you know what sizes are available to you and then you will know exactly what you want your Heritage Makers decor to be.  Don't worry too much about the color of the tile--most of it will be covered.

STEP 2:  CREATING THE DECOR
As with all Heritage Makers products, you can either design something from scratch or use a template (something someone else has already designed).  

When you receive it in the mail (a happy day!!), cut the pages into squares as needed.

These are just some of the tiles I've made.  They're not in the template gallery, but I can transfer them from my account to yours--just ask.  


2023 UPDATE:  Heritage Makers became YPhoto under Youngevity (which purchased Heritage Makers in 2013).  YPhoto uses only templates, so the creativity showcased here is no longer available there. Best-in-the-industry quality and permanent cloud photo storage with guaranteed privacy are required for anything recommended here by Photo & Story Treasures, so we highly recommend Forever.  

Using Forever's Artisan program for digital scrapbooking, you can make items similar to those shown here.  This video tutorial shows you how to craft with high-quality scrapbook pages, and this one shows you how to use Artisan to create something unique and then print at home (for instances in which you need thinner paper, sticker paper, etc.)  You can see just a few examples of crafting I've done using Artisan here.


STEP 3:  ADHESIVE
There are a few different ways you can adhere the scrap pages to the tiles.  I actually just use double-sided tape!  You can also use a spray adhesive.  I've heard of some people who use a Xyron.  I know of others who use Mod-Podge, and they also coat the top with Mod-Podge as well.

STEP 4:  FINISH UP and ENJOY!
Once your page is adhered to the tile (and dried, if necessary), you can put it up on a stand, or wrap it up for gift-giving.  I just use clear cellophane bags and ribbons.

Makes a fun, beautiful, personal gift, and really great home decor.