Today I'm going to show you something I just learned to do: craft blocks using a digital scrapbook page, wood, and paint. And the best part is that I've done all the design work for you, so it's a super simple project.
Here's what I'm going to make:
2025 note: The program used to make these, Studio by Heritage Makers, is now defunct, so although I'll walk you through the steps using old photos, you'll see the updated version that you can order indicated with an order link. You can see information about the new digital scrapbooking program I'm using at the bottom of this post.
Yeah, sorry for the flash reflection up there. That was the fourth picture I took, and it was deemed Good Enough.
Here's what you need:
The "Count Your Blessings Blocks" scrap page, printed. You'll see a photo of it below, before I get into the steps for making the blocks, with a link to order it. You'll need a free FOREVER account to place the order, and it will come printed with heirloom-quality inks and paper and have a beautiful, glossy surface.
about 4 feet of a 2x4 piece of wood (found at home improvement stores; 2x4s actually measure 1.5"x3.5". Tell me I'm not the only person who thinks that's weird.)
a saw (power saw recommended), or a nice person at said home improvement store who will cut the board into pieces for you--just be sure you take the measurements with you.
black paint (This project takes more than half of a 2-oz. bottle of craft paint. You could try spray paint if you prefer. You could also try a different color if you prefer, but I think the black looks sharp with the lettering.)
adhesive of some kind, such as double-sided tape, Xyron, Uhu stick, or spray adhesive
The fact that I've already designed these blocks for you makes it pretty easy!
the previous design, no longer available
You'll get your project in the mail in about 10 days. The waiting is the hardest part. (Thanks, Tom Petty. ..But it's true.)
That's OK because you can get your blocks ready in the meantime if you want.
STEP 2: cut your wooden blocks
Remember that 2x4s actually measure 1.5" x 3.5". You can go ahead and cut your blocks while you wait for your printed digital scrapbook page order to come in the mail, or you can wait just to double-check sizes.
The page I've designed actually comes with instructions and size information right on it, including this: You don't want the blocks exactly the same size as the scrapbook page pieces--it's easiest to have a little bit of a wood border around them. I'd recommend that you cut the blocks with a power saw, to save time and to get a cleaner cut.
STEP 3: prepare the wooden blocks
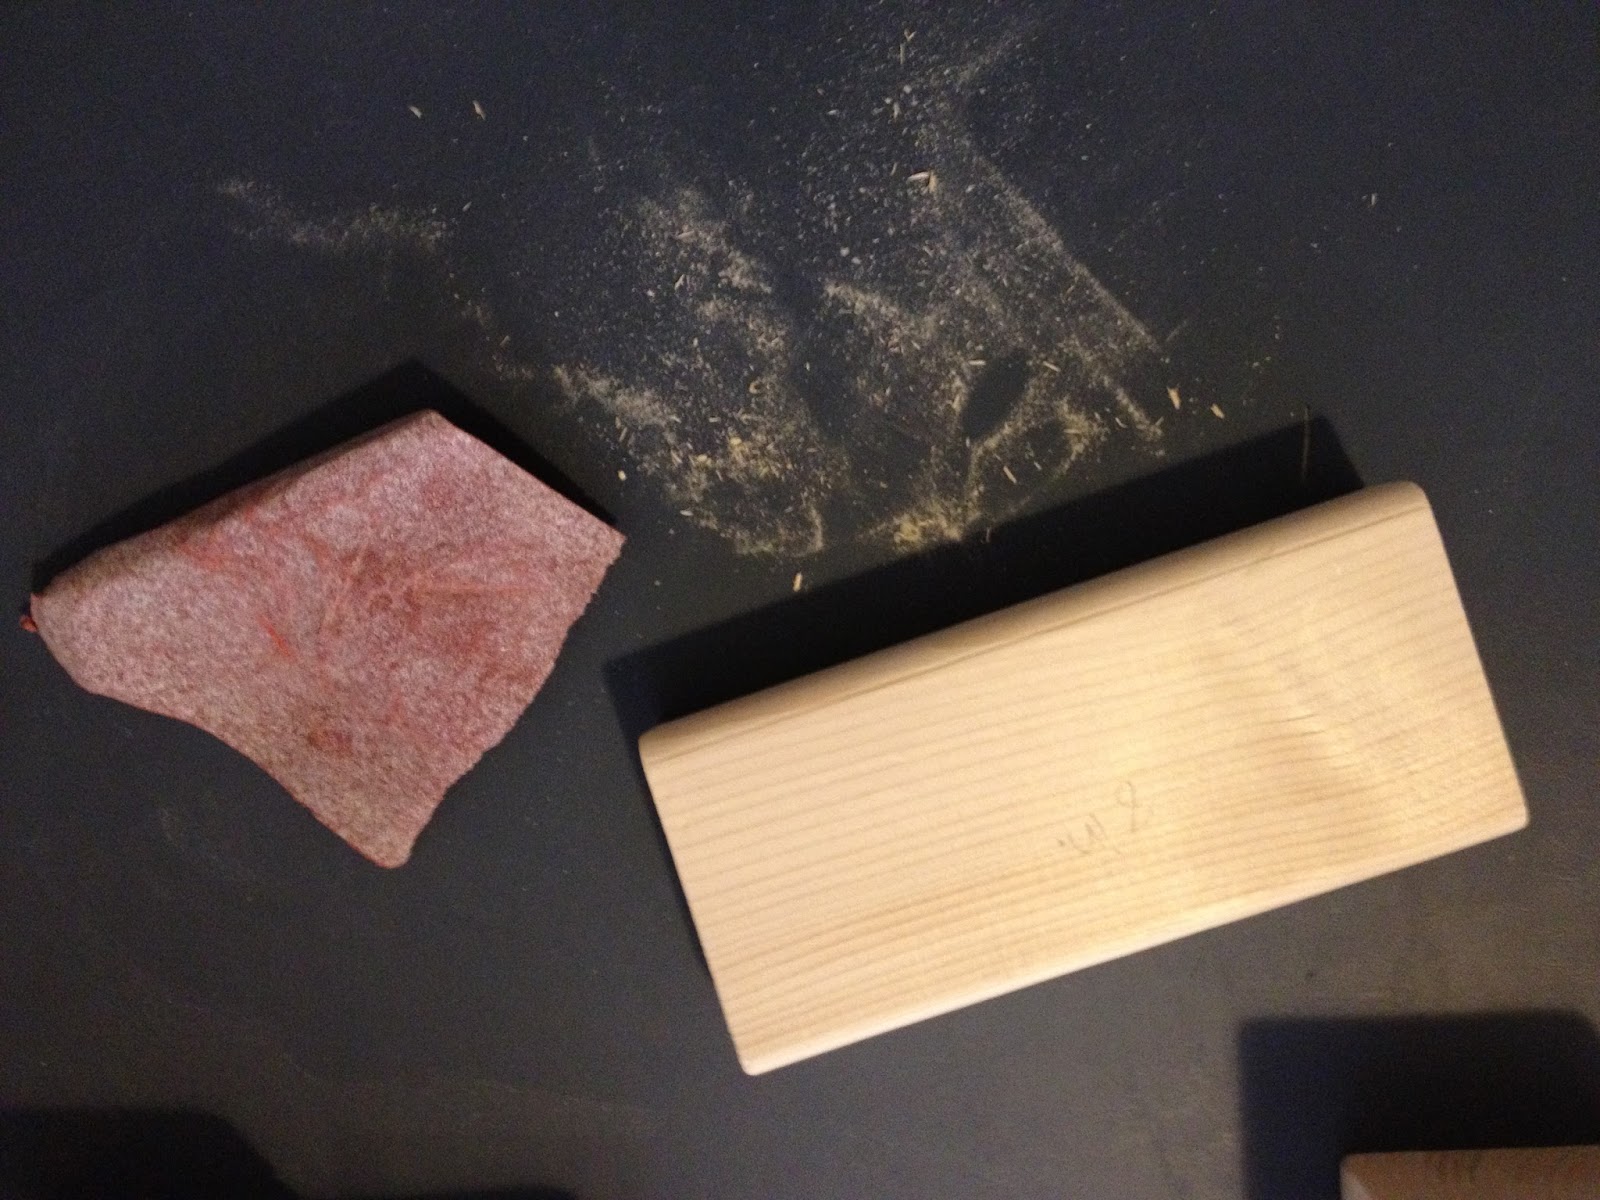
First, sand the rough edges.
Then paint them. I'd suggest painting all sides of the blocks, but you don't have to. The backs won't be seen (probably) so they don't have to be covered, and you don't need to paint the center on the front that will be covered with the scrapbook page pieces if you don't want to.
Let the paint dry completely. STEP 4: cut out the cuteness
When your blocks' decor arrives in the mail from FOREVER (and you're finished with your happy dance), cut out the pieces.
the previous design, no longer available
Use a paper cutter or scissors--whatever you'll be happy with. I always think a paper cutter will be straighter, but to be honest that's often not the case. STEP 5: adhere the cuteness to the blocks
There are many ways to adhere pages when you craft. I've heard suggestions of UHU stick, spray adhesive, Xyron machine, Mod-Podge, and double-sided tape.
For this particular project, I'm going to stick with tried-and-true double-sided tape. On my next project, I'll venture out. I know with Mod-Podge you can use it as an adhesive on the back of the page, and then use it on the front as a sealer. Some people don't like the look you get with the Mod-Podge put on the front, but others do. See what you think.
Ta-Da!!
the previous design, no longer available
It would look darling in your house, but it would also make a cute AND inexpensive gift!
UPDATE:Heritage Makers became YPhoto under Youngevity (which purchased Heritage Makers in 2013). YPhoto uses only templates, so the creativity showcased here is no longer available there. Best-in-the-industry quality and permanent cloud photo storage with guaranteed privacy are required for anything recommended here by Photo & Story Treasures, sowe highly recommend Forever.
Using Forever's Artisan program for digital scrapbooking, you can make items similar to those shown here, as I've done with the Count Your Blessings blocks page.
I'm such a big believer in capturing memories as they're made (i.e. creating photo albums, digital scrapbooks, tribute books, life stories, etc.) that I have yet to fully appreciate Heritage Makers used a different way: CRAFTING!
But I'm starting to...
Crafting is very popular, and if you go to the Template Gallery at Heritage Makers, you can see examples of how people use Heritage Makers for crafting--just type in "blocks," "banner," "tiles," "clock," or "advent." (I'm sure there are others I haven't thought of, too!)
I did my first craft project using Heritage Makers about a year ago. I was going to be at a Heritage Makers booth at a very large event with some other Heritage Makers consultants. We decided to make some giveaway prizes for the new clients we'd be meeting. And so, I was first introduced to Decorative Tiles, the Heritage Makers way!
You may have seen decorative tiles in homes before. Here's one I made with Heritage Makers that I have now sitting in my kitchen:
All you really need to make a decorative tile is:
a tile (your desired size)
a print from Heritage Makers (use an individual scrapbook page)
a stand of some kind to display your finished product (available at craft stores or framing stores)
You can always create things from scratch in Heritage Makers, but I most often use templates for tiles. Either way, you can personalize anything at all.
In the template gallery, you'll see templates like this:
and like this
They are both made on 12x12s, but you would then cut apart the one with 4 on it. The bigger 12x12 can be put on a 13x13 tile. For the smaller ones, I have seen 6x6 squares put on 6.5x6.5" tiles (ONLY available at Lowe's, for some reason), and 5.5x5.5 squares put on 6x6 tiles. I know some people make smaller ones, 4 inches, but I'm not sure if the paper is 4 inches or the tiles are. At any rate, you want the paper a little smaller than the tile, no matter what you're using. It gives you a little border, as you can see in my first photo above, and then you don't have to mess with having the edges meet perfectly.
For the 6x6 tiles, each one comes out to less than $2 (tiles included), so they make really lovely little gifts. The 12x12 individual scrapbook pages can also be framed instead of placed on a tile if you prefer. Also a very nice gift or home decor item for yourself.
So let's get started!
STEP 1: THE TILES
Go buy your tiles at a home improvement store. I suggest doing this first so that you know what sizes are available to you and then you will know exactly what you want your Heritage Makers decor to be. Don't worry too much about the color of the tile--most of it will be covered.
STEP 2: CREATING THE DECOR
As with all Heritage Makers products, you can either design something from scratch or use a template (something someone else has already designed).
When you receive it in the mail (a happy day!!), cut the pages into squares as needed.
These are just some of the tiles I've made. They're not in the template gallery, but I can transfer them from my account to yours--just ask.
2023 UPDATE:Heritage Makers became YPhoto under Youngevity (which purchased Heritage Makers in 2013). YPhoto uses only templates, so the creativity showcased here is no longer available there. Best-in-the-industry quality and permanent cloud photo storage with guaranteed privacy are required for anything recommended here by Photo & Story Treasures, so we highly recommend Forever.
STEP 3: ADHESIVE
There are a few different ways you can adhere the scrap pages to the tiles. I actually just use double-sided tape! You can also use a spray adhesive. I've heard of some people who use a Xyron. I know of others who use Mod-Podge, and they also coat the top with Mod-Podge as well.
STEP 4: FINISH UP and ENJOY!
Once your page is adhered to the tile (and dried, if necessary), you can put it up on a stand, or wrap it up for gift-giving. I just use clear cellophane bags and ribbons.
Makes a fun, beautiful, personal gift, and really great home decor.
In my job as a memory-keeping consultant, I often get asked for advice and directions on where and how to start publishing your photos when you have so many.
Now, like never before, people have an abundance of photos, and most people don't even print them up. All their memories and histories are lying dormant, just waiting to be lost and forgotten. Forever.
At the same time, when you're staring hundreds (or thousands) of photos in the face, it's not exactly the easiest undertaking!
So let me share some advice with you that I've shared with others. Breaking down the process into manageable pieces is vital. And you'll be SO HAPPY with the result. It's very definitely time worth spending. Here are some tips to help you tackle your mountain (or hard drive) of photos.
1. DISCOVER WHAT WORKS FOR YOUR BRAIN
I will outline my recommendations and add in a few things that I've seen others do. The most important thing is that you find what works for YOU, what makes the most sense to YOU. It can be hard to follow someone else's system if it doesn't click for you in your brain.
2. ORGANIZE
Find out what you have. Enlist some help if that makes it easier. I recommend sorting photos by year. One of my clients prefers to sort hers by event (such as Christmases through the years, trip to Bahamas, etc.).
If you have printed photos, put them in manila envelopes or boxes. LABEL the envelopes/boxes with the year. (These will obviously need to be scanned in order for you to publish them digitally.)
If you have digital photos, I suggest putting them in folders on your computer. Be as specific as you can, because it will help as you go through and find what you need. The way I do it is I have a folder for each year. Then, for example, inside the folder labeled 2010, I have more folders "Jan. 2010," "Feb. 2010," etc.
I have a client who was overwhelmed at organizing her photos because she said she hadn't tagged any of the photos, meaning she hadn't changed the names of the digital photo files to say who is in the photos and when they were taken.
You *can* do that if you want to, but it would be SO MUCH WORK, and I really think it's unnecessary.
First of all, when you take a picture, that picture (jpg file) is assigned a number. If you leave them as numbers, they will always be in chronological order because they'll be in numeric order on your computer. If you rename them, then they will be re-ordered in your folders in alphabetical order. They may be harder to find if you don't remember what you called them.
Second, the whole purpose in DOING SOMETHING with your photos is to get them out of just digital form and bring them to life!! When you place your photos in a digital photo-storybook, you can tell their stories THERE. Just organize your photos in a way that you can know where to find them when you start putting them into a book or scrapbook page. All of the details will be in the book.
3. CHOOSE THE BEST PHOTOS
I have a client who has about 30 photos of her parents. In that case, every single one of those is the BEST photo. She wants to save and use them all, whether they are a little blurry or faded or whatever. They are ALL the best and worth saving and publishing.
If you have 30 photos of your child at the park last Tuesday, I recommend choosing your favorite 2 or 3 or 4. Don't be afraid to not use some of the photos you've taken. In this digital age, we are often in the habit of taking as many photos as we want so that we can be sure to get a good shot. But then we feel like we need to use them all, which is not the case. Stick with the best ones, your favorites. It will help you not feel as overwhelmed, and it will streamline your final product.
4. START SMALL (& START EASY!)
It can be overwhelming when you know you have 20 books you need to make to get caught up on the photos you've taken over the last however-many-years. But all you have to do is start with ONE.
Here, again, you'll need to decide what works for you. I would recommend starting with whatever is the easiest to remember, or the most fun to put together. Maybe you remember last year the easiest. Maybe the Disneyland trip from a few years ago will be the most fun to create. Or maybe you want to start with the oldest pictures you have and move forward in order. Do whichever makes the most sense to you and will be easiest. And only focus on that ONE book. Don't think about how you have to do 20. Just do ONE!
5. CHOOSE YOUR METHOD
You could publish your photos and memories by event. Here's one example.
I have to say that if I were trying to get on top of my photos and get them published and I were a few years behind and feeling anxious about getting caught up, I would DEFINITELY do it family-yearbook style. Because it's chronological, it's so NEATLY ORGANIZED that it would be easy for me to just go back through my photos and plug them right into this book!!
I already know where the Halloween 2012 photos go--in the 2012 book in the October pages. Easy!
This is the easiest way I know of to make a family yearbook:
Pre-designed templates like these are particularly helpful if you have a lot to catch up on or just plain don't have a lot of time.
If you prefer full flexibility and creativity with the same heirloom-quality books and photo privacy promise from the video above, you'll LOVE digital scrapbooking! Here's an introduction to Artisan digital scrapbooking software which has so many amazing possibilities. This video is an overview--for more details on what you can do in Artisan, click here.
Whichever method you choose, do what makes the most sense to you.
6. TELL THE STORY
A book full of pictures with no text is absolutely no better than a shoebox full of pictures with no information written on the backs.
Don't forget the STORIES behind the photos. You take every photo for a reason! Write it down. Tell who is in the photo, where it was taken, when, and why. Write memories of incidental things that happened along the way. Pretend you're on the phone with a friend telling her about the event. Then write that down.
There's no better way to make family connections than to remember the connections you've made in the past so that you can build on them. Get started right here.
I absolutely love giving Heritage Makers for Teacher Appreciation Day or year-end thank-yous. Other popular gifts are flowers or gift cards, but I don't like how those are used up and gone (and forgotten) before the summer is over.
Especially when the teacher is excellent, and you want to truly thank her/him for being fantastic for your child, I feel like something heartfelt is just irreplaceable. And guess what--the same price as you'd pay for flowers or a gift card. I love that.
Here are some of the books I've made over the years for some really fabulous women.
These are from just my child, with the whole book completed by him/her.
I've also made books from the entire class as teacher thank-yous, and those are equally wonderful! The teachers always think it's the best thing they've ever gotten. Because it is!
These are not all the books I've made, but they give you a good idea of the possibilities. I will admit I have made more than one teacher cry (and then I cry, too). But teachers deserve something special and heartfelt for all their amazing work!!
I have made mostly 5x5 hardbound books (about $26), but I've sometimes made 8x8 books if all the class is contributing (they're about $37, so only a few dollars per person).
And they're WAY BETTER than flowers!!
UPDATE 2022: Heritage Makers is currently being updated to a new
software platform that doesn't require Adobe Flash to run (which Adobe discontinued
at the end of 2020). I also recommend Forever as an excellent company with heirloom-quality books and a photo privacy promise. Something great about Forever is that is has three different print platforms, from "easy button" to quick and simple templates to full digital scrapbooking with total flexibility and creativity, and you can learn about the options here to find what fits you best.
I heard a comment, "I feel like I'm in The Jetsons!"
It's true! You can actually add a QR Code (video) to your Heritage Makers project! I'm pretty sure this year I'm going to be sending out the coolest Christmas card I've EVER sent!!!!
(P.S. The QR Code above is just a "dummy" one with the Heritage Makers logo in the middle. It won't scan anything.)
Also, here are the basic instructions for using a QR Code in a Heritage Makers project.
Record a short video greeting (less than 3 minutes is best). Use a webcam, phone, video recorder, etc.
Upload the video to your YouTube account. You need to do this so your video has a URL. QR Codes are generated by URLs, and when QR Codes are scanned, they will send the person scanning it to that specific website or URL. With YouTube, if you choose a "private" setting, only 50 people can view the video. If you choose "public," it's unlimited.
Once your video is in your YouTube account, copy its URL.
Using a free QR Generator website such as qrcode.kaywa.com or www.quikqr.com, paste the URL code into the QR Generator. It will create your QR Code.
Once your QR Code is created, right-click on the QR Code. Choose "save image as" and save it to your computer just like you'd save a picture. Save it as a PNG file.
Upload the QR Code to your Heritage Makers account, treating it just like a picture. Use it in your Heritage Makers projects just like you would a photo.
TEST YOUR QR CODE BEFORE YOU PRINT IT IN YOUR PROJECT! You can easily find a QR Code Scanning app for your smartphone. You can scan it from your computer, which I personally think is amazing.
When using your new QR Code in your Heritage Makers project, don't make it smaller than about 3/4 inch - 1 inch. The smaller it is the less readable it will be. Use the "ruler" option in the "view" pull-down menu to measure 1 inch.
When using a QR Code in a Heritage Makers project, be sure to include right in the project some directions on how to use it. Some people won't know.
A friend of mine posted this on Facebook. Neither she nor I know the people mentioned here, but it could be anyone among us, and it poignantly describes why photos are indeed priceless. It also describes why *I* do what I do.
It's for all those people who take pictures and don't know what to do with them.
It's for all those people who would like to have time or an easier way to publish their pictures.
It's for all those people with a story to tell and a life to share.
A letter on my door step. portraits are more than paper.
There will be no portrait photos in this post. This letter wasn’t mailed – it was at my doorstep when I got home a couple months ago. I read it, I cried, and read it again – probably a hundred times by now. It wasn’t easy to read – and honestly, as much as it validates what I do for a living – I wasn’t sure I was going to share it either – Until today, when a past client said that my print prices were too expensive. If you choose to read through the letter, you will know why I’ve finally chosen to share it.
July 2nd, 2011
Jeanine -
Today I am writing for a couple of reasons. I have some quiet time at the moment and need to get a couple of things off my mind. I will leave this for my husband to deliver to you when he is ready.
You photographed my wedding, you photographed my first pregnancy and my first baby. I contacted you awhile back to photograph my 2nd child and family. After getting prices and realizing I would want all of the pictures as we love your work – I decided against spending $500+ – which is what I normally spend for portraits and prints with you.. Please know it is not because I don’t value your amazing eye, or how much we love the experience.
That week that I decided to NOT do a session with you, this is how I spent some money.
On Sunday I called and cancelled our session. Monday I went out and got my hair cut ($39+tip), and colored ($65), Thursday I had my nails done ($24), my family went out to dinner at a somewhat expensive restaurant for no particular reason costing us $79 + tip. This was just 4 days since canceling our session, already totaling over $200 for un necessary things. My nails only lasted about 2 weeks, my hair is gone, and seven weeks passed when I got the phone call from our doctor. It was not something I expected and the cancer has spread very quickly. I will be leaving my husband, my 6 year old girl and my now 2 year old – not by choice. It is very hard for me to talk about it which is why I need to write you.
I watch your Facebook page and your posts about the value of a photo and if I could give back all of those things that I purchased this few weeks after I cancelled my session with you, knowing what I know now, and have that session, well… I would do it in a heartbeat.
Now my time is done and there are no more chances for me. The next time someone cancels a session – my wish is that you forward this letter to them. Time is fragile, it is gone before you know you had it. If you charged $200 for one print it wouldn’t be enough for what it is actually worth. I cringe to think that my priorities were a manicure over a memory to pass onto my babies and husband.
My love and thanks for what you have given us from past photos. I am so sorry that I did not see it as more than paper until now.
Thanks for visiting! 2023 UPDATE: Heritage Makers and Snap2Finish became YPhoto under Youngevity (which purchased Heritage Makers in 2013). YPhoto uses only templates, so the creativity showcased here is no longer available there, and they also no longer have capability to print previously-created projects like these from the old system.
Best-in-the-industry quality and photo privacy is required for anything recommended here by Photo & Story Treasures, and we highly recommend Forever for:
·creative digital scrapbooking applicable in a variety of photo products using Artisan software
·easy photo-memory books using free AutoPrint and Design & Print software programs
·private, permanent, secure, and guaranteed photo and video cloud storage (triple-backed-up and bank encrypted)
·white glove digitizing services for old memories like VHS tapes, slides, old scrapbooks (scanning), 8mm film, audio tapes, and much more
Learn more here to find similar products at top-quality with a 100% satisfaction guarantee.
_________________________________________________
IDEA #1: Canvases!
These are so popular right now, and I LOVE the quality of the Heritage Makers canvases. They are GORGEOUS. There's no other word for it. These come together SO fast! A few background papers and embellishments, a quote or title, and you're done. Or use a template like these and you're done even faster!
IDEA #2: Playing cards!
These are so much fun! There are TONS of ideas (and tons of templates) for playing cards, such as Family Go Fish (matching), Family Rook, Get-to-Know-the-Family (fact cards), and MUCH more!
I just made these as a gift for my sister's family. They are dinner conversation starters.
IDEA #3: Tiles!
A craft project made from Heritage Makers individual scrapbook pages! Tiles are so popular right now, too.
Both of these are ones I made (though some are copied from templates or ideas "stolen" from others!), so I can transfer these to you to use, too. The first is one 12x12 page divided into four 6x6 sections. I cut it up and put each one on a 6.5x6.5 tile. EASY and FAST! (And a cheap but cool gift!)
These are full 12x12 scrapbook pages, which I've seen on 13x13 tiles, but you could also just frame these in 12x12 frames like I did.
IDEA #4: Calendars!
These are SO CUTE! There are a LOT available in the template gallery so that you don't have to spend any time designing. Find one you like, put your own pictures and special dates in it (birthdays, anniversaries), and that's it!
IDEA #5: Gift certificates!
Good, old-fashioned gift certificates!! Know somebody who takes a lot of pictures? wants to write a personal history? Chances are good they would love Heritage Makers! A gift certificate gives them an account with some publishing points already in it so they're ready to publish anything they like.
Isn't technology amazing?! I just presented my first-ever VIRTUAL Workshop! What that means is that last night 5 people from other states sat in front of their own computers while I talked to them, showed them around my memory-keeping website, made a digital scrap page in front of their very eyes, and answered their questions.
They could have been wearing their pajamas for all I know.
Isn't that fabulous?!
And my dear friend Alena who was the host, who invited her friends to participate, didn't have to clean her house or prepare treats. But she got to talk to her friends (in 3 states) all the same, and share Heritage Makers with them! Plus she earned the usual Host Rewards (free stuff!).
This makes hosting a Workshop SO EASY!! Contact me and let's have some fun and learn a lot while you get rewarded. It's pretty amazing.
And don't forget grads you know! What about posters or canvases (use a "through the years" theme with pictures as the child grows up) and memory books (think "make your own yearbook")!