Updated 2026. The original design is no longer available from the seller, so I have re-designed this set and also made it smaller, with block sizes that are easier to find. The new design is simpler to order as well!
Christmas is my favorite holiday, I love cute things, and I love giving unique gifts to friends.
So this Christmas Countdown made from wooden blocks, a little paint, and pre-designed pieces is just perfect!
I made my first Christmas Countdown blocks way back in 2013. You can see photos at the end of this post (the original post), but what I'm sharing today is an update to my second version, which I made around 2018. The original set was big, made from 4" blocks and a piece of a 2"x4".
My second version is a mini.
You could hold the whole set in one hand!
The whole thing measures 3" wide x 3" tall x 1.5" deep.
And did I mention I love cute things?
I designed these using a now-defunct software program on a digital scrapbooking page and had it printed with the same (now-defunct) company.
I love having it professionally printed because it's printed on thick, glossy cardstock and the colors are vibrant and gorgeous.
Yes, I still have my original (above) that I pull out every year. For a while my kids liked turning the blocks around to count down, but now I find I like doing it, too. 😁
Because I already have my old set, I have made these new blocks for you, my blog readers! (And it will be part of my 2026 gift for all my FOREVER clients, too, like these.) Here's my brand-new design for you:
The quality is lower on Blogger, as I'm sure you can see, but when you go to the original digital scrapbook page design it will be crystal clear. Then you'll follow the directions on the right (after you
open the project file here) and once you get the professionally printed page back in the mail, you can just follow the directions right on it!
I hope you enjoy this fun, easy project!
Scroll down to see the actual O.G., as well as one idea for adhering the pieces and additional views of all the sides of the blocks. There's also a Pin to save this idea for later.
Happy crafting (and happy gifting)!
NOTE: I am a Forever affiliate called an Ambassador (a decision I made because I love it so much), so you will find affiliate links in this post. I earn a commission from anything purchased at my website, and being your Ambassador means I'm here to help you with questions, too. If you're new to Forever and open your free account here to give it a try, you'll get a $20 welcome coupon towards this project (or anything of your choosing, really)!
______________________________________________________________
THE ORIGINAL POST FROM 2013:
The last few wooden block tutorials I've posted used blocks cut from 2x4s or 1x4s. This one is going to be different. Although it does use one piece cut from a 2x4, it also uses two square blocks!
Cute, right? Let's get started!!
Just like the other wooden block tutorials I've shown, these are simple and inexpensive. This project cost me about $6.
Here's what you need:
- Heritage Makers template 112267. This is actually my own template--I created it! Just click the "template gallery" link at the upper right, then type 112267 into the search field.
- a 7.5" piece of wood cut from a 2x4 (found at home improvement stores)
- two 3.5"x3.5" blocks of wood (You can sometimes find these at craft stores pre-cut, but they come out cheaper per block if you buy a 4x4 post at a home improvement store. Some of the ones made for fences are pre-treated and don't take paint very well. Assuming you use all the blocks you can cut from an 8-foot 4x4 post, each block comes out to be about 50 cents. If you're only making one set of these, though, then the ones at the craft store might be less money out of pocket. And, as you might guess if you've read any of my other wooden block tutorials, a 4x4 post actually measures 3.5x3.5".)
- a saw (unless you are using pre-cut blocks from a craft store. If you are using a 4x4 post from a home improvement store, DO YOURSELF A FAVOR and find a nice person who will cut it for you. The nicest man ever offered to cut my whole 8 feet into 3.5" blocks for me. It rocked.)
- paint (Craft paint or spray paint; I use craft paint. I'd recommend a cream/off-white/tan/or light brown. Do whatever you want.)
- adhesive (spray adhesive, Xyron, double-sided tape, Mod Podge, or UHU stick)
STEP 1: create the beautiful part
Create your pieces on a scrap page, then order.
While you wait the 7-10 days for it to come in the mail...
STEP 2: cut your wooden blocks
Unless you bought the blocks pre-cut or found a nice person at the home improvement store. In any case, you may still need to cut the 7.5" piece from a 2x4.
STEP 3: prepare the wooden blocks
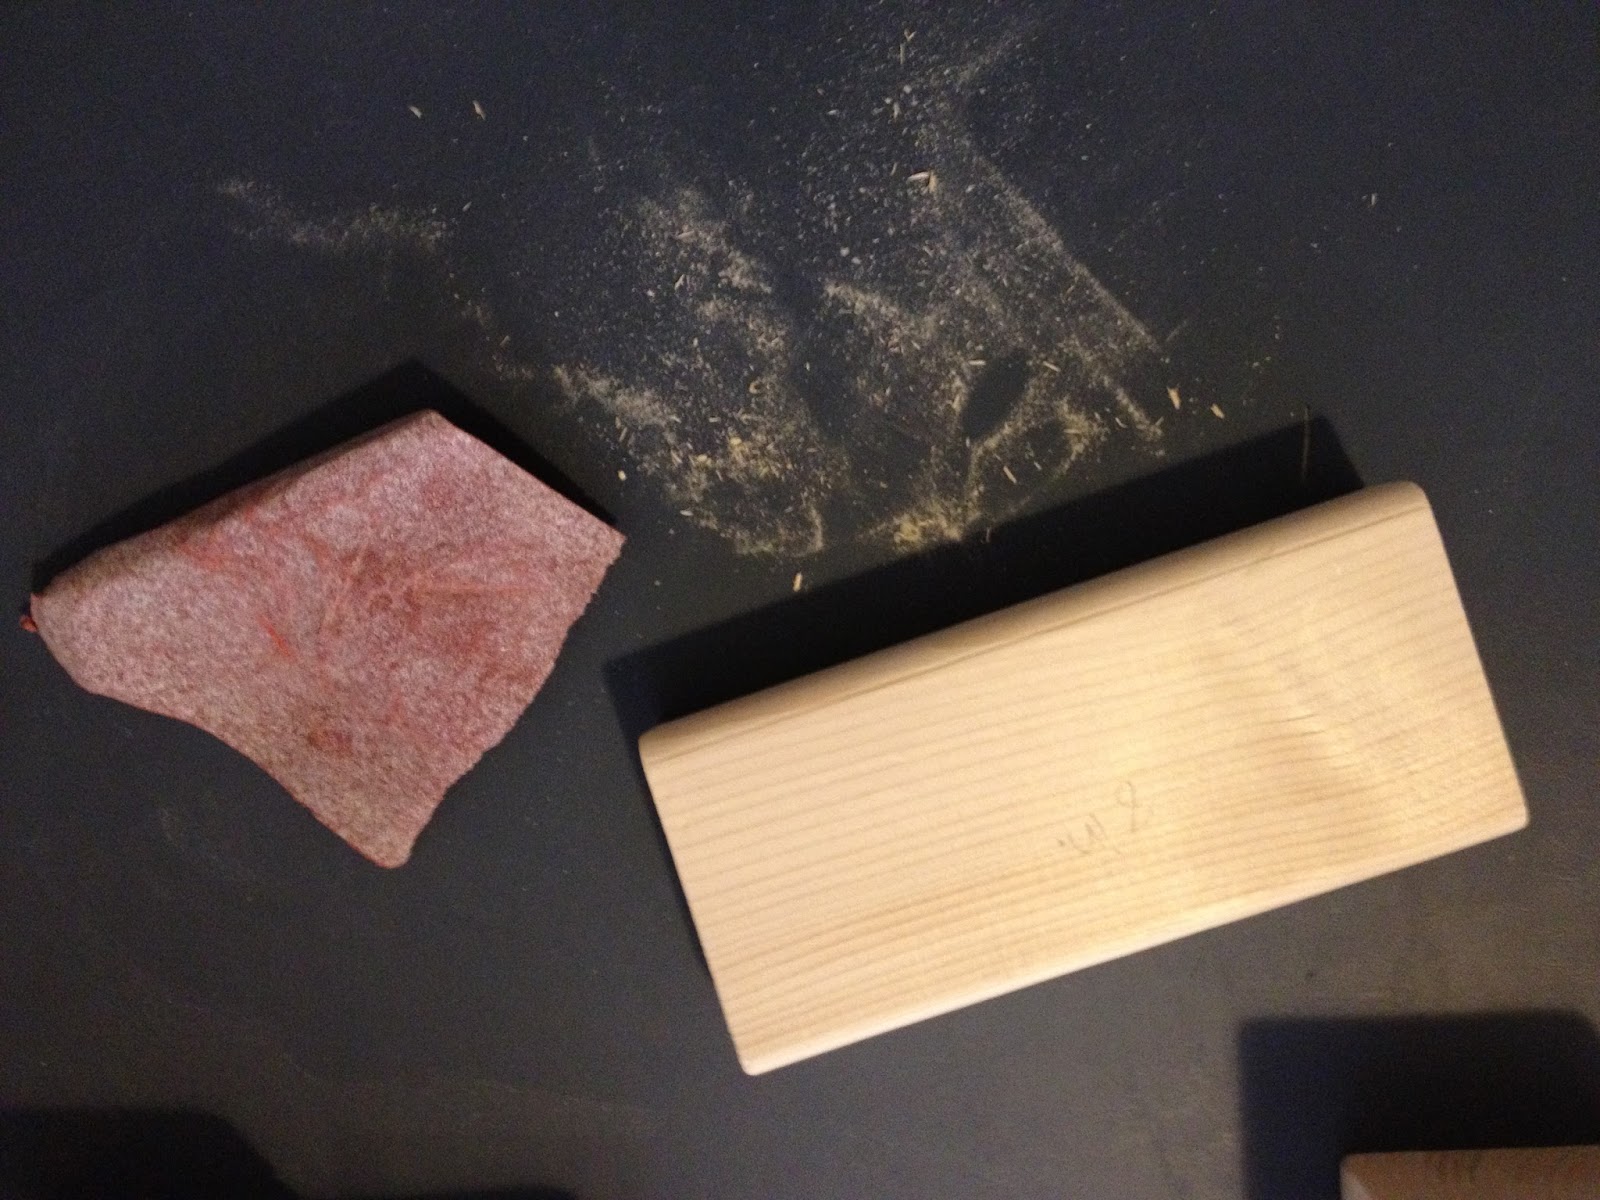
Sand rough edges.
Paint all sides. Let dry completely. (I decided to save a little time and paint this time by not painting the whole blocks. Most of each side will be covered anyway.)
STEP 4: cut out the cuteness
After your pages have arrived in the mail, cut out the cuteness.
Choose your weapon: paper cutter or scissors.
STEP 5: adhere the cuteness to the blocks
The important part here is to follow the directions. In order to make number combinations like 14 and 27, certain numbers need to go on certain blocks. Or you will be sad. Each square block has six sides. One block should have the numbers 0, 1, 2, 4, 5, 6 on it. The other block should have the remaining 1, 2, 3, 7, 8, 9 on it.
Use spray adhesive, Xyron, double-sided tape, Mod Podge, or UHU to adhere the decor squares to the blocks. I opted for the Xyron again. But permanent double-sided tape works, too.
Then stick the pieces on! (Don't forget to stick the right pieces on the right blocks!)
HOW CUTE IS THIS?!?
I SO love it. And it's such a great #giftidea too!
 |
Save and share this Christmas Countdown project by Pinning this
image or using the social media share buttons at the left. |
Follow Photo & Story Treasures on social media here: